Showing posts with label Pumpkin Create A Card. Show all posts

Friday, July 23, 2021

Lets Sew a Pumpkin!

Happy Friday!
I am BACK with another darling idea for the Pumpkin Create A Card Die Set!


So when I was in 2nd grade, my mom made Pumpkin Bean Bags for my classmates for our Halloween party. Well when we got this die in our hands, I looked at it ~ As if I hadn't see it during the design stages ~ and said "Oh my goodness, this brings back so many memories and I have to get some felt!"
So here it is!
EASY peasy! So I cut 2 layers of felt in Orange, the face out of black, the stem out of a rusty brown and then the green leaf! Then glued on the pieces, used my sewing machine to sew around the edges leaving the stem open. Then I purchased a bag of Poly Pellets from Joann's to use as filler.
I used a funnel and a knitting needle to stuff it full! Then I sewed the top shut! 
You could also hand stitch around it if you wish. 
But that is IT! So cute. We have a couple of them laying around in our show booth.
A lot of people don't know our dies will cut felt! YES they will! Which adds more projects to the list!


Join us for the Pumpkin Craft A Long on September 14th in the One of A Kind Rubber Stamp and Scrapbook Group on Facebook.
You can purchase the bundle HERE
Thank you for joining me today and have a blessed weekend!


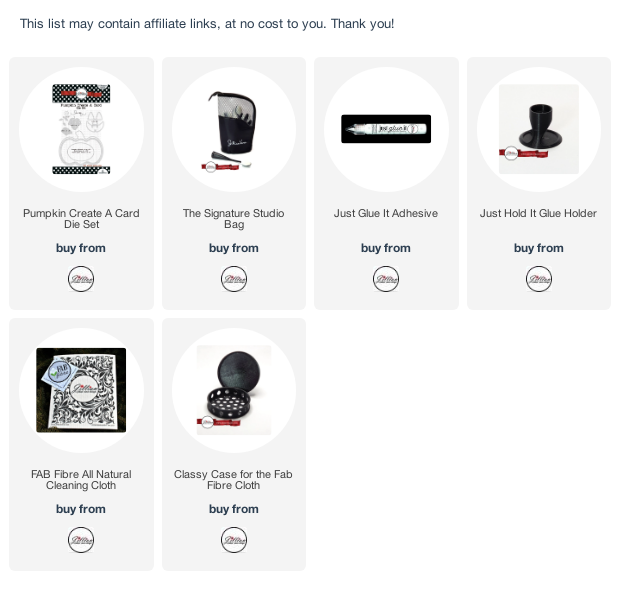
A Jillian Vance Design products used:

UPCOMING IN PERSON EVENTS (more to come)


Thursday, July 22, 2021

Who wants to make a Pumpkin Shaker?

Hello and Welcome Back to another Pumpkin card!!!
This die set is so versatile and fun to use! 
Tomorrow I will have another fun idea to use it for as well.


So Jillian is all about Shaker Cards, she always has been since she started cardmaking at 10.
So it is certainly like her to add a shaker layer to this die set.
So when you want to create a shaker, here is how I do it, which isn't the only way, but how SHE taught me!
I use Craft Foam from your big box store. I place it on the cutting plate, then put a piece of cardstock I am using for the pumpkin, then I center the largest pumpkin shaped die, with the middle piece that is the 2nd largest, CENTERED in the largest die. I use my Purple Tape or Post It Tape and then cut it all at once, that way your frame and the craft foam is exactly the same.
Then I use the largest die and cut my back piece and also a sheet of acetate.
Then, glue the acetate to the front cardstock frame. TIP: I use a dryer sheet to remove any static from that acetate so the sequins won't stick to it!
Then glue the craft foam layer to that waiting until it is dry to proceed. Lay your sequins down on your back cardstock piece, THEN glue down that front frame/acetate piece and TADA...you just created a shaker card!
Have a great day and see you back here tomorrow!


 A Jillian Vance Design products used:

Tuesday, July 20, 2021

A little Sparkly Pumpkin Face!

Hello! Today I have more of a Halloween Glitter Pumpkin!

I am STILL in love with this Pumpkin Create A Card! There are so many options! It can be fall or it can be Halloween or it can be a Glitter Halloween!
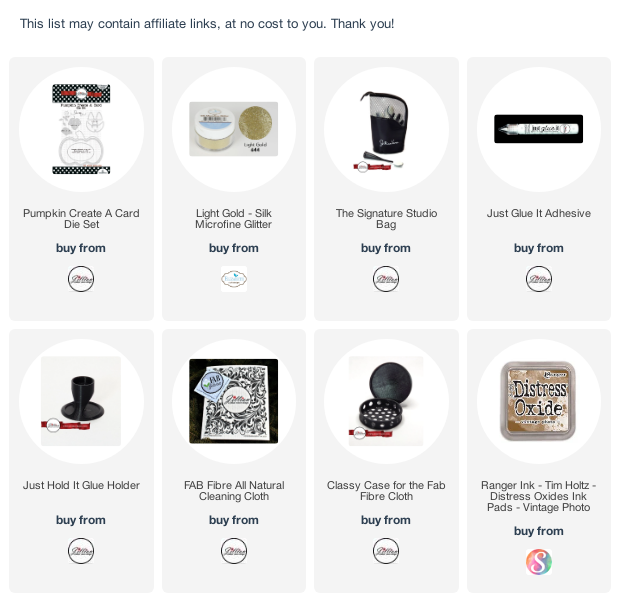
I used a little Vintage Photo Distress Oxide to "dirty" up the bright orange cardstock on this card as well. I feel like the bright orange was just too bright. This photo doesn't do the glitter justice! I used the Light Gold Elizabeth Craft Designs Silk Microfine Glitter on the oval under the oval that I cut the Jack O Lantern face from!
No sentiment needed on this, let the glitter shine through!
This card can be created by folding the card stock just under the stem cut line to create a fold there.
OR you can cut 2 of the base pumpkins and score the bottom one and glue the stems above that score line.


Thanks for stopping by! See you soon!


UPCOMING IN PERSON EVENTS (more to come)

A Jillian Vance Design products used:

Friday, July 16, 2021

Fall Pumpkin!

Hello, this is Bunny and I am back with another card from the New Release!


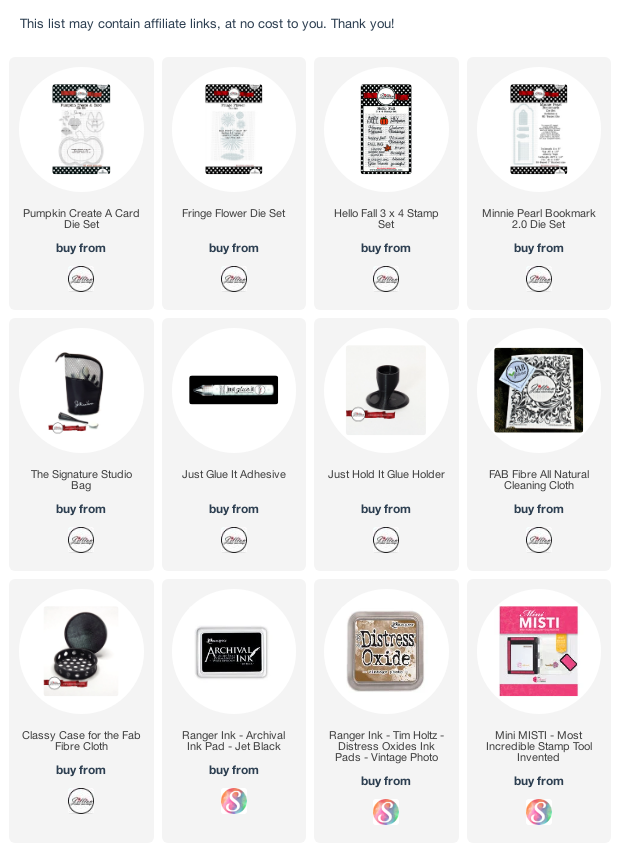
I am in love with this Pumpkin Create A Card! It is so cute and so fun to use. The Fringe Flower Die Set is a perfect accent to add to it for that fall welcome! More ideas to come from me with this die!
I used a little Vintage Photo Distress Oxide to "dirty" up the bright orange cardstock.
It just adds a little rustic touch. The Oxide inks are easier to blend but do take a little longer to dry.
This card can be created by folding the card stock just under the stem cut line to create a fold there.
OR you can cut 2 of the base pumpkins and score the bottom one and glue the stems above that score line.
The Tag is from the Minnie Pearl Bookmark Die Set which is the perfect spot for the sentiment from our Hello Fall Stamp Set.
Check out all of the new goodies HERE!


Thank you for stopping by today! Enjoy your weekend!
Here are the next couple of shows we will be attending!
Hope to see you there!

UPCOMING IN PERSON EVENTS
July 17 - 18 Pittsburgh/Monroeville PA 

July 30 - 31 Syracuse/Auburn NY

August 7 Sharonville (Cincinnati) OH


A Jillian Vance Design products used:
Follow A Jillian Vance Design on: