Showing posts with label Oval Backdrop. Show all posts

Saturday, September 15, 2018

Ghouls.....

Today I have a fun little card for your Ghoul Friends!
How cute is this if I do say so myself!
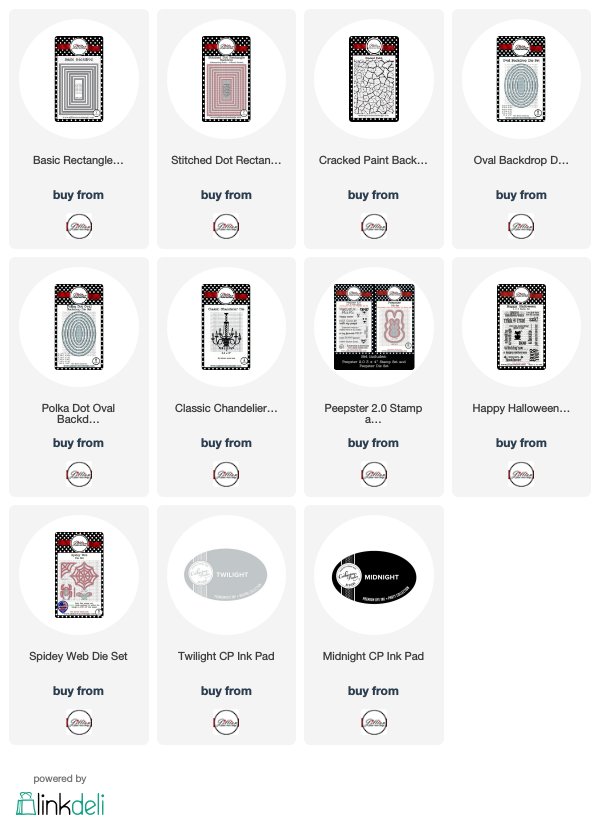
Since we don't have Ghouls or Ghosts...I thought, Ok, what can I use instead...that is when I thought but we have Ovals and our Elegant Edges!
So...Here is my Ghouls...just want to have fun card!
Check out full details on the A Jillian Vance Design Blog HERE!


Have a great weekend!
We are enjoying ourselves at the Adventures in Stamping show in Strongsville Ohio!
post signature
Follow A Jillian Vance Design here:

Thursday, February 4, 2016

Popping up Petals Thanks Card

I just love A Jillian Vance Design's new Pop Up  Petals die set!
It is so much fun and can be for ANY season!
It also will layer with our Daisy Die Set to give even more variation to their look.
This fun car was made using ONLY die cuts! How fun, no stamping!
Easy peasy to create!
A Jillian Vance Design products used:
Thanks for stopping by today!
post signature
Follow A Jillian Vance Design here:

Saturday, October 4, 2014

Majestic Deer Shaker Card

Happy World Card Making Day 2014!
Today I am showing you how to make a scene shaker card.

I just love the Majestic Deer designed by Melyssa of Whimsie Doodles.
So i decided it would be fun to use in a shaker card.
I started with the Basic Rectangle Backdrop Die and wanted to have a subtle background design so I decided to try something new . . . I used our new Tim Holtz Distress Stains in Picket Fence, sprayed on our Dainty Dots Background Builder Stamp, then stamped it onto the light blue paper and dried it with the heat tool.   It is kind of hard to see in the photo but it looks like snow in real life.
Then I die cut using the largest oval in the Oval Backdrop Die Set centered in the Polka Dot Rectangle Backdrop Die to create the "window" of the shaker.
I used an over head projector sheet and cut using the same size Polka Dot Rectangle Backdrop Die.
I stamped the sentiment from Winter Woodland Stamp Set in Ranger Embossing Ink and heat embossed using Ranger White Embossing Powder.  
Then layer them together in this order:
Blue layer with oval cut out adhered to the top of the Clear overhead projector die cut.
then using Scrapbook Adhesives by 3L Crafty Foam Tape, I put it all the way around the backside of those two pieces ~ sit this aside.
Next move on to the scene:  Cut 2 Majestic Deer out of Kraft cardstock, cut the antlers off of one deer and Two Tranquil Trees out of dark brown cardstock,  I used the Embossing Dabber by Ranger and their Sticky Embossing Powder to add the Distress Glitter to the trees so they looked snowy.
I hand cut a piece of green cardstock  for the ground and also added Distress Glitter to it as well.
Arranged them all on my light blue die cut that had been stamped with the Dainty Dots Background Stamp
I added some iridescent confetti from Michael's and then layered the sandwich of clear acetate and cardstock on top ~ shaker part of the card complete!
I used the snowflake dies from Sam E. Snowman Shaker Die Set to each corner and topped them off with some Want2Scrap Baby Bling in Clear!
TADA . . .  there is my card!
A Jillian Vance Design products used:


Other products used:
Scrapbook Adhesives by 3L: Crafty Foam Tape and EZ Runner
Ranger Ink: Clear Embossing Ink, Clear Embossing Ink Dabber, Distress Glitter, White Embossing Powder, Distress Stain Spray in Picket Fence
Want2Scrap Baby Bling in Clear
WorldWin Papers


Thanks for stopping by today, hope you are having fun seeing all the inspiration from the Blog Tour that PaperCrafts Magazine has provided.   I would love to see your comments and remember
to 'Pin It"!
Please head over to the A Jillian Vance Design Blog, they are having a giveaway you won't want to miss entering!
post signature
Follow A Jillian Vance Design here:

Saturday, July 26, 2014

Glossy 3D Poinsettia Christmas Card with Video Tutorial

Wow, where has this summer gone?  We are less than a month away from school starting again.
But right now it is Christmas in July over at the A Jillian Vance Design blog!


The new Leaves & Petals set from A Jillian Vance Design has so many options!
Check out my post and  How To Video HERE!
(will be linked as soon as it loads!)
I using the three smooth edged leaves, I cut 5 each in Red cardstock.
I then cut three berries from the  Holly & Swirls Die Set for the center.in yellow cardstock.
I used a Circle Backdrop for my base to glue the leaves to.  I arranged and layered to achieve the look of a poinsettia!   I added Glossy Accents to the entire flower as shown in the photo below.

Glossy Accents over entire flower.

I also used  3D Foam Squares by Scrapbook Adhesives by 3L to "pop" up the poinsettia as shown in the photo below.
Side view to see it POP!

If you would like more information on how to turn the  Leaves & Petals Die Set into a beautiful poinsettia, please watch this video!


Other supplies:
Archival Ink in Jet Black,  Embossing Ink in Clear, Clear Embossing Powder and Glossy Accents all by Ranger
 EZ Runner and 3D Foam Squares by Scrapbook Adhesives by 3L
Quick Dry Glue by Scotch
WorldWin Paper




post signature
Follow A Jillian Vance Design here: